
cPanel & WHM is a complete server management solution, but you may occasionally need to log in to your server’s shell to run scripts or edit configuration options on the command line. The most secure way to remotely log in is with SSH. An SSH client on your local computer connects to a daemon on the server. SSH encrypts the commands you send to the server and the information it sends back.
When you log in with SSH, you must supply authentication credentials. These are usually your cPanel account’s username and password. However, password-based logins are not as secure as we might like. Users often choose easy-to-guess passwords. Even if they don’t, malicious bots will bombard SSH with brute force and dictionary attacks, consuming the server’s resources.
SSH keys are an alternative way to authenticate using public-key cryptography and a pair of cryptographic keys—one public and one private. SSH keys are more secure because they are not vulnerable to guessing attacks. We discussed SSH keys briefly in How To Use PuTTY SSH With cPanel. In this article, we’ll dig a little deeper into how public key cryptography works, show you how to generate public-private key pairs with cPanel, and how to use them to authenticate with SSH.
What is Public Key Cryptography?
Cryptography is the science of secrecy. Cryptographers design secure communication systems, and encryption is their most important tool. Simply put, encryption scrambles messages so they can’t be read. You start with a message called the plaintext and convert it to nonsense, which is called the ciphertext. Decrypting reverses the process, converting ciphertext back into readable plaintext.
Symmetric encryption is the most familiar type. You need two things to encrypt a message: a key and an encryption algorithm. The key is a string of letters and numbers. The algorithm is a set of instructions for combining the key with the plaintext to create the ciphertext. To decrypt the message, you give the same key and the ciphertext to a related algorithm, and it spits out the plaintext. Only someone with the key can decrypt the message.
For symmetric encryption to work, the sender and recipient have to share a secret, the key. But what if you want to encrypt a message where there is no shared secret? This is a common need on the internet. For example, I want to send a secret message to a friend. I can encrypt it, but how do I get the key to them? I can’t just send it over the internet because someone spying on my connection could intercept it and decrypt the message too.
The solution is public-key cryptography, which is also called asymmetric encryption. With public-key cryptography, we use two keys, a public key and a private key. Only the private key can decrypt messages encrypted with the public key. Only the public key can decrypt messages encrypted with the private key.
When I want to send a secret message to my friend, I ask them to send me their public key. I use it to encrypt the message and send them the ciphertext. They use their private key to decrypt it. Provided they keep the private key secret, anyone with the public key can send a message only they can read.
Public key cryptography has two significant consequences. The first is that there are no shared secrets. The second is that the person with the private key can prove who they are by decrypting a message. If I encrypt a message that says “hello” with a person’s public key, and they tell me, “You said hello, ” I can be certain they have the private key. It might not be obvious why that matters yet, but it’s the foundation of online security, including HTTPS encryption and SSH keys.
SSH Keys: SSH Authentication with Public Key Cryptography
SSH key authentication uses the mechanism we just described to verify your identity when you want to log in to your server.
It works like this:
- You create a pair of keys, one public and one private. You upload the public key to the server, and you keep the private key secret on your local computer.
- When you connect to the server with SSH, the client on your computer tells the SSH daemon which public key is yours.
- The server creates a random string of letters and numbers, which it encrypts with your public key and sends to the client.
- The client decrypts the message using the private key. Remember, only your private key can decrypt messages encrypted with your public key.
- The client takes the decrypted message, hashes it, and sends the hash back to the server. A hash is a sort of one-way cryptographic function. The same string always produces the same hash.
- The server now hashes the original message and compares it to the hash sent by the client. If they match, it proves you have the private key and you are authenticated.
Provided you keep the private key secret, this method of authentication is reliable and secure. It isn’t vulnerable to brute-force and dictionary attacks. It also helps avoid the problems that arise when users think “pa55word” is an ingenious solution to their password management problems. Of course, all bets are off if the private key is stolen, but that’s a limitation of all authentication mechanisms.
How to Generate Public and Private Keys with cPanel
To use SSH keys, you need a key pair. There are several ways to create key pairs, but one of the easiest is cPanel’s SSH Access tool, which you’ll find in the Security section of cPanel’s main menu.
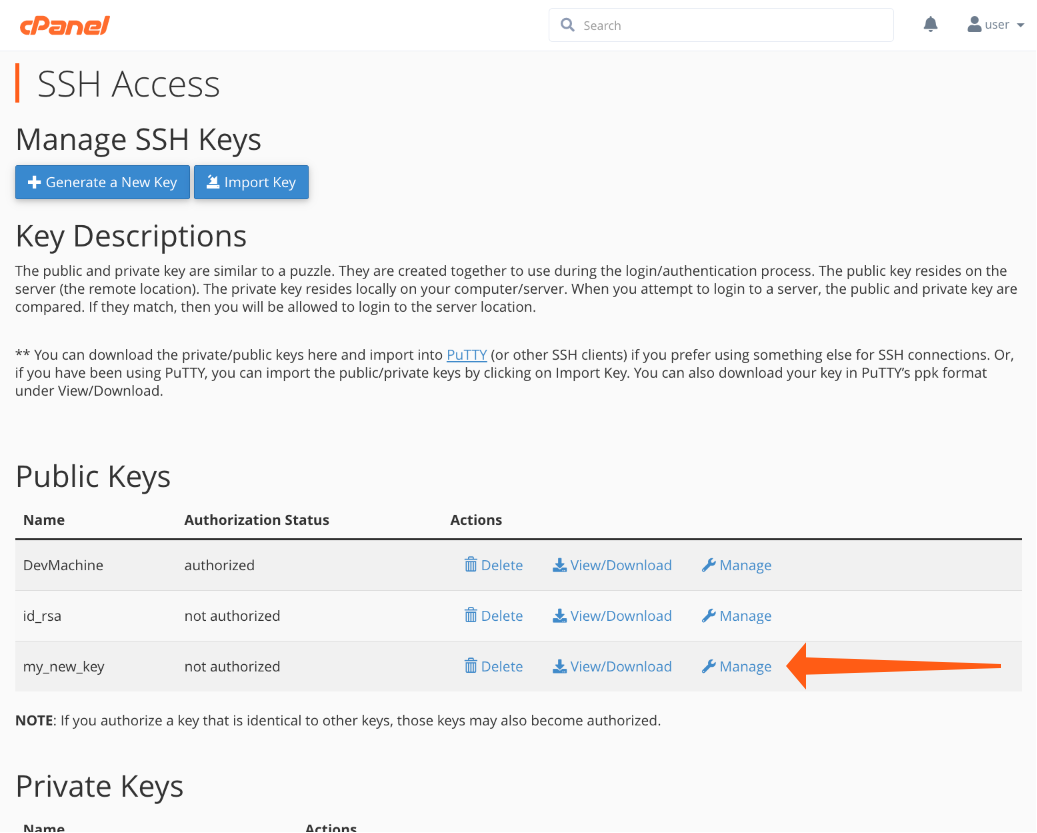
- Open SSH Access and click Manage SSH Keys.
- Click Generate New Key.
- Enter a name for your keys, or you can create a key pair with the default name “id_rsa.”
- Enter a password for an additional layer of security. Be sure to copy the password and store it safely. It won’t be displayed again, and it can’t be recovered.
- Click Generate Key at the bottom of the page.

The next step is authorizing the public key so you can use it for SSH authentication.
- Return to the Manage SSH Keys interface, as described above.
- Find the key you just created under Public Keys.
- Click Manage and then Authorize on the next page.
Finally, we have to download the private key to our local machine (see below for Microsoft Windows® and PuTTY instructions).
- Once again, go to the Manage SSH Keys tool.
- Scroll to the bottom of the page, where you’ll find your Private Keys.
- Click View/Download next to the new private key.
- Click the Download Key beneath the text box that displays the key.

The private key is downloaded to your browser’s default download folder. You should move it from there to a safe location. If you would like to make it the default key for your local computer’s user, move the file to the following directory on Mac and Linux, replacing “username” with your local computer’s username.
/home/username/.sshIf you use PuTTY on Windows, you must first convert the private key to PuTTY’s native PPK format.
- Navigate to your private keys in cPanel as described above and scroll to the bottom of the page.
- Enter the passphrase associated with your key.
- Click the Convert button, and then Download Key.
- You can now select the PPK file when connecting to your server with PuTTY, as we outlined in How To Use PuTTY SSH With cPanel.
Log in To cPanel Servers with SSH Keys
If you have followed the walkthrough, you now have an authorized public key in place on your server. The private key is stored on your local machine. To use the keys, you simply tell SSH where to find the private key when you open a connection.
On Linux and Mac, the terminal command to initiate an SSH connection is:
ssh -i path_to_private_key username@example.comReplace “path_to_private_key” with the location of your new private key. You could omit this option if you stored the key file in the .ssh folder as your default.
SSH keys make your server more secure. They prevent poor password choices from exposing your server and its users to unnecessary risk. To further enhance security, server administrators may want to prevent users from logging in with passwords altogether with the SSH Password Authorization Tweak in WHM’s Security Center.As always, if you have any feedback or comments, please let us know. We are here to help in the best ways we can. You’ll find us on Discord, the cPanel forums, and Reddit. Be sure to also follow us on Facebook, Instagram, and Twitter.


