
For those using WordPress as their website platform, creating a staging environment is an essential step in website development and maintenance. A staging environment is a replica of your live site, where you can make changes and test them before implementing them on your live site. In this guide, we will walk you through the steps of creating a staging environment in WordPress using a staging plugin.
But first, what exactly is a staging environment and why do you need one?
A staging environment is a duplicate version of your website that is hidden from the public and used for testing changes and updates before implementing them on the live site. It allows you to experiment and make changes without the risk of breaking your live site.
There are several reasons why having a staging environment is crucial for your website:
- Ensures a smooth and error-free website: By testing changes on a staging site, you can identify and fix any errors or issues before they affect your live site.
- Saves time and resources: Making changes on a staging site allows you to fix any issues before they go live, saving you time and resources in the long run.
- Allows for collaboration: Staging environments can be shared with team members, making it easier to work together on website updates and changes.
Now, let’s dive into the steps of creating a staging environment in WordPress.
Step 1: Choose a WordPress Staging Plugin
There are several staging plugins available for WordPress, such as WP Stagecoach, WP Staging, and Duplicator. Choose the one that best suits your needs and budget.
Step 2: Install and Activate the Plugin
Once you have chosen a plugin, install and activate it on your WordPress site.
Step 3: Create a Staging Site
Using the staging plugin, you can create a staging site by clicking on the “Create Staging Site” button. The plugin will then create a duplicate of your live site and give you a new URL for your staging site.
Step 4: Customize Your Staging Site
You can now make changes and updates to your staging site, such as updating themes, plugins, and content. You can also test new features or design changes without affecting your live site.
Step 5: Test Your Staging Site
Testing is a crucial step in using a staging environment. Ensure that all the changes made on your staging site are functioning correctly and there are no errors.
Step 6: Make Changes and Test Again
If you encounter any issues or errors during testing, make necessary changes and test again until you are satisfied.
Step 7: Push Changes to Live Site
Once you are satisfied with the changes on your staging site, you can push them to your live site using the staging plugin. This will update your live site with the changes made on the staging site.
It is essential to follow best practices when using a staging environment to ensure a smooth and efficient process:
- Keep Your Staging Environment Up to Date: Regularly updating your staging site with the latest changes from your live site will ensure that testing is done on the most recent version.
- Only Make Changes on the Staging Site: Avoid making changes directly on your live site to prevent any errors or issues.
- Test Thoroughly Before Pushing Changes to Live Site: Ensure that you have thoroughly tested and resolved any issues on the staging site before pushing the changes to your live site.
- Keep a Backup of Your Live Site: In case anything goes wrong during the pushing process, it is crucial to have a backup of your live site.
In conclusion, creating and using a staging environment is a necessary step in managing and maintaining a WordPress site. It allows for a smoother and more efficient website development process and reduces the risk of any errors or issues on the live site. By following the steps and best practices outlined in this guide, you can easily create and use a staging environment for your WordPress site.
Key Takeaways:
- 1 Key Takeaways:
- 2 What Is a Staging Environment?
- 3 Why Do You Need a Staging Environment?
- 4 How to Create a Staging Environment in WordPress?
- 5 What Are the Best Practices for Using a Staging Environment?
- 6 Frequently Asked Questions
- 6.1 What is a staging site and why do I need one?
- 6.2 How does a staging site compare to a laboratory for drug testing?
- 6.3 Do I need to have technical knowledge to create a staging site?
- 6.4 What are the benefits of using a plugin to create a staging site?
- 6.5 How do I push changes from my staging site to the live site?
- 6.6 How often should I update my staging site and keep it in sync with my live site?
What Is a Staging Environment?

Photo Credits: Fastdot.Com.Au by Carl King
A staging environment is a controlled and separate copy of your website that allows you to test changes, updates, and new features before implementing them on your live site. It provides a safe space to experiment without risking any damage to your website or user experience.
The staging environment closely resembles your live site, including the same themes, plugins, and content. However, it is not accessible to the public, ensuring that any modifications or issues are contained within the staging environment.
Using a staging environment offers several advantages, such as:
- Testing: It enables you to thoroughly test new features, updates, or changes without impacting your live site.
- Troubleshooting: If any issues arise in the staging environment, you can quickly identify and resolve them before they affect your live site.
- Collaboration: Staging environments allow multiple team members to work on different aspects of the website simultaneously, without interfering with each other’s changes.
- Smooth Updates: By testing updates in a staging environment, you can ensure they function seamlessly and won’t cause any compatibility issues or conflicts.
To create a staging environment, you can utilize plugins like WP Staging, Duplicator, or the staging features offered by managed WordPress hosting providers. Remember to regularly synchronize your live site with the staging environment to maintain consistency.
By implementing a staging environment, you can streamline website development and updates, making the process more reliable and ensuring a seamless experience for your visitors.
Why Do You Need a Staging Environment?
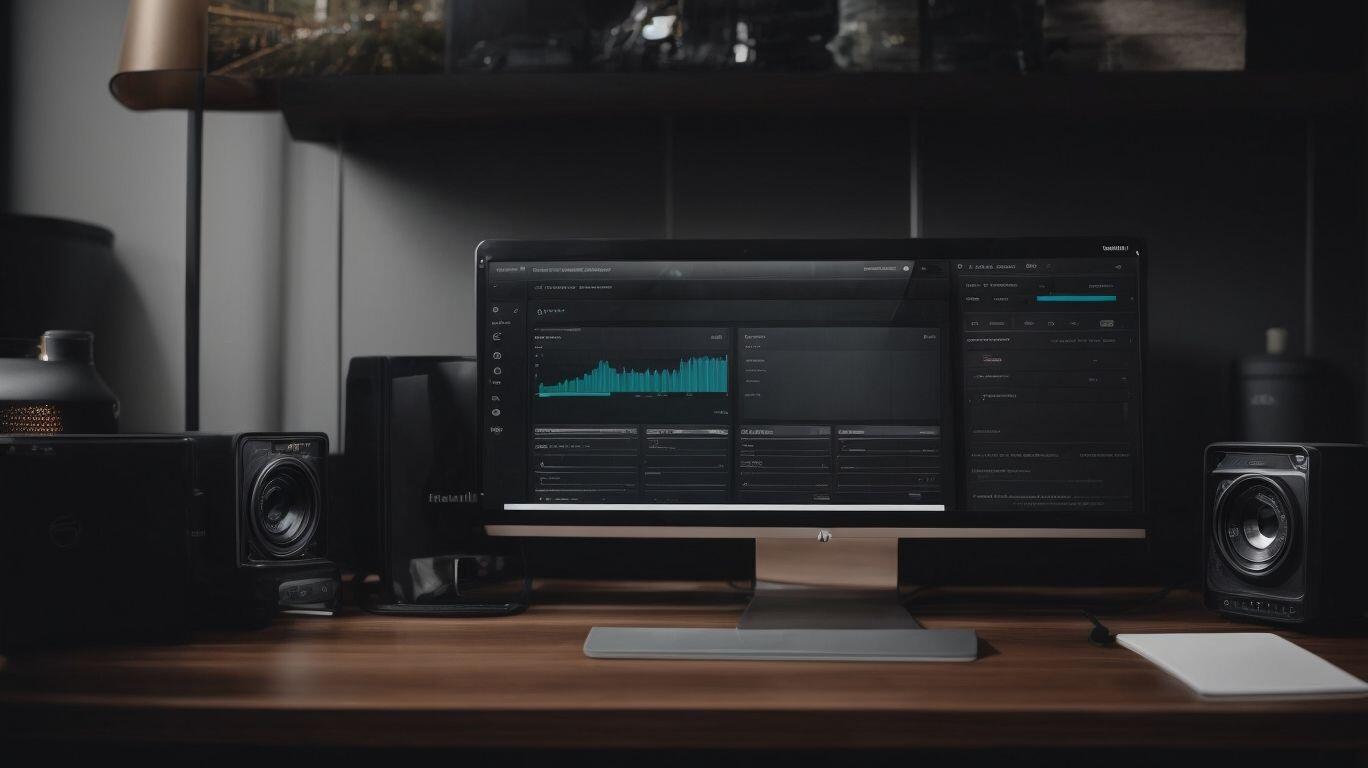
Photo Credits: Fastdot.Com.Au by Henry Wilson
A staging environment is a duplicate of your live website where you can test changes, updates, and new features before implementing them on your live site. But why do you need a staging environment?
- Testing: With a staging environment, you can test any changes or updates without affecting your live site. This ensures that everything works as intended and prevents any potential issues or downtime on your live site.
- Bug Fixing: A staging environment allows you to identify and fix any bugs or errors before they are visible to your users. This helps maintain the functionality and user experience of your website.
- Plugin or Theme Updates: Staging environments are especially useful when updating plugins or themes. You can test the updates on your staging site to ensure compatibility and avoid any conflicts or issues on your live site.
- Content Changes: If you are making significant changes to your website’s content, a staging environment allows you to preview and refine those changes before making them live.
Pro-tip: It is essential to keep your staging environment up-to-date with the latest version of your live site, including plugins, themes, and content, to ensure accurate testing and minimize any discrepancies.
How to Create a Staging Environment in WordPress?

Photo Credits: Fastdot.Com.Au by David Carter
Are you a WordPress website owner looking to test and make changes to your site without affecting the live version? A staging environment is the perfect solution for you. In this section, we will guide you through the step-by-step process of creating a staging environment in WordPress. From choosing a staging plugin to pushing changes to your live site, we will cover everything you need to know to successfully set up and utilize a staging environment. So let’s get started!
Step 1: Choose a WordPress Staging Plugin
To set up a staging environment in WordPress, follow these steps:
- Choose a WordPress staging plugin.
- Install and activate the plugin.
- Create a staging site.
- Customize your staging site.
- Test your staging site.
- Make changes and test again.
- Push changes to the live site.
Choosing the right WordPress staging plugin is the first crucial step in creating a staging environment. There are multiple popular options available, such as WP Stagecoach, WP Staging, and Duplicator. Consider factors like ease of use, compatibility with your WordPress version, and additional features offered by the plugin.
Fact: According to a study by CodeInWp, 37% of WordPress developers regularly use staging environments to safely test and deploy changes to their websites.
Step 2: Install and Activate the Plugin
To successfully install and activate a plugin in WordPress, please follow these steps:
- Login to your WordPress admin dashboard.
- Navigate to the “Plugins” section in the left-hand menu and click on it.
- Click on the “Add New” button at the top of the page.
- In the search bar on the right-hand side, type in the name of the plugin you want to install and press the “Enter” key.
- Scroll through the search results and find the plugin you want to install.
- Click on the “Install Now” button next to the plugin.
- Wait for the installation to complete.
- Once the installation is finished, click on the “Activate” button to activate the plugin.
- You will see a success message indicating that the plugin has been activated.
By following these steps, you will successfully install and activate the desired plugin on your WordPress site.
Step 3: Create a Staging Site
To create a staging site in WordPress, follow these steps:
- Choose a WordPress staging plugin that meets your specific needs.
- Install and activate the selected plugin on your WordPress site.
- Access the plugin settings and use the option to create a staging site. This process will duplicate your live site to a separate staging environment.
- Customize your staging site by making changes to themes, plugins, and content as necessary. This allows you to experiment without affecting your live site.
- Thoroughly test your staging site to ensure that everything is functioning as intended. Check for any errors, broken links, or compatibility issues.
- If needed, make any additional changes or adjustments based on the testing results. Repeat the testing process to confirm the changes.
- Once you are satisfied with the staging site, push the changes to your live site. This can be done using a specific feature or option provided by the staging plugin.
Following these steps will enable you to safely create and work on a staging site in WordPress before implementing any changes on your live site.
Step 4: Customize Your Staging Site
When personalizing your staging site in WordPress, follow these steps to ensure a smooth and efficient process:
- Access your staging site: Log in to your WordPress admin dashboard and navigate to the staging site using the provided URL.
- Choose a theme: Select a theme for your staging site that aligns with your desired design and functionality.
- Install necessary plugins: Add any required plugins for the staging site, such as security or performance optimization tools.
- Customize site elements: Modify the site’s header, footer, menus, and widgets to match your preferences and branding.
- Content customization: Update the content on your staging site, including text, images, and multimedia elements.
- Test functionality: Ensure that all website features, links, forms, and interactive elements are working correctly.
- Preview and review: Take the time to thoroughly review your customized staging site before proceeding.
By following these steps, you can effectively personalize your staging site in WordPress, preparing it for final testing and approval before pushing the changes to your live site.
Step 5: Test Your Staging Site
- Step 5: Test Your Staging Site
Testing your staging site thoroughly is an essential step before pushing any changes to your live site. Here are some key points to consider:
- Functionality: Ensure that all the features and functionalities of your staging site are working correctly. Test the navigation, forms, buttons, links, and any interactive elements.
- Compatibility: Check if your staging site is compatible with different web browsers and devices. Test it on popular browsers like Chrome, Firefox, and Safari, as well as on mobile devices like smartphones and tablets.
- Responsiveness: Verify that your staging site is responsive and displays properly on various screen sizes. Make sure the content adjusts well and remains readable on both larger and smaller screens.
- Performance: Assess the performance of your staging site, including its loading speed and responsiveness. Use tools like Google PageSpeed Insights or GTmetrix to analyze and optimize the site’s performance.
- User Experience: Put yourself in the shoes of your site visitors and test the overall user experience. Ensure that the site is intuitive, easy to navigate, and provides a seamless browsing experience.
Step 6: Make Changes and Test Again
Step 6: Make Changes and Test Again
- Identify the specific changes you want to make on your staging site. This could include updating themes, plugins, or making design modifications.
- Implement the changes by accessing the backend of your staging site. Use the appropriate tools, such as the WordPress Customizer or plugin settings, to make the necessary adjustments.
- After making the changes, thoroughly test your staging site to ensure everything is functioning as expected. Check for any visual or functional issues that may have resulted from the changes.
- If any issues are identified during testing, troubleshoot and make any necessary adjustments. This may involve reverting the changes, modifying settings, or seeking support from the plugin or theme developers.
- Once you are satisfied with the changes and have verified that the staging site is working correctly, you can proceed to the next step of pushing the changes to your live site.
Step 7: Push Changes to Live Site
When it comes to transferring changes from a staging environment to your live site in WordPress, there are several crucial steps to follow:
- Review Changes: Carefully review all the changes made on your staging site. Make sure that everything is functioning correctly and aligns with your goals.
- Backup Your Live Site: Before pushing any changes, it is essential to create a backup of your live site. This ensures that you have a restore point in case anything goes wrong during the update process.
- Push Changes: Once you are confident in the changes and have a backup, it is time to push the changes to your live site. This can typically be done through a plugin or by manually transferring files and database changes.
- Test Again: After the changes have been pushed, thoroughly test your live site to ensure that everything is working as expected. Check all the functionality, links, and ensure that the design remains consistent.
- Monitor: Keep a close eye on your live site after the changes have been pushed. Monitor for any issues or errors that may have occurred during the update.
By following these steps, you can safely and effectively transfer changes from your staging environment to your live site in WordPress.
What Are the Best Practices for Using a Staging Environment?

Photo Credits: Fastdot.Com.Au by Austin Jones
A staging environment is a crucial tool for any WordPress developer or website owner. It allows for safe and efficient testing of changes before implementing them on your live site. However, to fully reap the benefits of a staging environment, it is important to follow best practices. In this section, we will discuss the top practices for using a staging environment, including keeping it up to date, making changes only on the staging site, thorough testing, and maintaining a backup of the live site. By following these practices, you can ensure a smooth and successful website development process.
1. Keep Your Staging Environment Up to Date
To maintain the effectiveness of your staging environment, it is crucial to regularly update it. Here are some steps to help you achieve this:
- Regularly update your staging environment with the latest version of WordPress and any plugins or themes you are using.
- Stay informed about the latest security patches and updates released by WordPress and plugin/theme developers, and apply them to your staging environment.
- Test any updates or changes made to your staging site to ensure that they do not cause any conflicts or issues.
- Regularly backup your staging environment to prevent any data loss in case of technical issues or failures.
- Consider using a version control system like Git to track and manage changes to your staging environment, making it easier to revert back to previous versions if needed.
- Monitor your staging environment for any performance issues or errors, and address them promptly to maintain optimal functionality.
By following these best practices, you can ensure that your staging environment remains updated and fully functional, enabling you to confidently test and make changes before pushing them to your live site.
2. Only Make Changes on the Staging Site
When working with a staging environment in WordPress, it is important to adhere to the best practice of only making changes on the staging site. This guarantees that any modifications or updates can be carefully evaluated and tested before being applied to the live site.
Here are the steps to follow:
- Choose a compatible staging plugin for your WordPress site.
- Install and activate the staging plugin on your WordPress dashboard.
- Create a staging site using the plugin’s features.
- Customize the staging site to incorporate the desired changes or updates.
- Thoroughly test the staging site to identify and resolve any issues or errors.
- If necessary, make additional changes and test again until the staging site is free of errors.
- Once satisfied with the changes, push them from the staging site to the live site using the plugin’s options.
By following these steps, any changes made on the staging site are thoroughly evaluated and tested before being implemented on the live site, minimizing the risk of unexpected issues or disruptions.
3. Test Thoroughly Before Pushing Changes to Live Site
When making changes to your live website, it is crucial to thoroughly test them before pushing them to the live site. This ensures that any issues or errors are identified and resolved before they impact your site visitors. Here are the steps to follow when testing changes in a staging environment:
- Set up a staging environment using a WordPress staging plugin.
- Make the desired changes or updates to your staging site.
- Thoroughly test the functionality and performance of your staging site, ensuring that the changes have been thoroughly tested and are working correctly.
- Identify and fix any issues or errors that arise during testing.
- Once you are confident that the changes have been thoroughly tested and are working correctly, push them to your live site.
By following these steps and conducting thorough testing, you can ensure that your live site remains stable and functional when implementing changes and updates. Remember to keep a backup of your live site in case any issues arise during the testing process.
4. Keep a Backup of Your Live Site
To maintain the safety and security of your live site, it is essential to have a backup of your website. Here is a step-by-step guide on how to do it in WordPress:
- Select a reliable backup plugin such as UpdraftPlus or BackupBuddy.
- Install and activate the plugin on your WordPress site.
- Configure the backup settings, including the frequency and storage location.
- Initiate the backup process by clicking on the backup button.
- Monitor the backup progress and ensure it is completed successfully.
- Store the backup files in a secure location, such as cloud storage or an external hard drive.
- Schedule regular backups to ensure you always have the most recent version of your site.
- In case of any issues or data loss, restore your site using the backup files.
By following these steps and regularly keeping a backup of your live site, you can protect your website from potential data loss or security breaches.
Frequently Asked Questions
What is a staging site and why do I need one?
A staging site is a clone of your live WordPress website that allows you to test changes and make updates without affecting the live site. It is important to have a staging site to mitigate the risk of errors and design mistakes on your live site, and to have a safe environment to experiment with new site elements and code snippets.
How does a staging site compare to a laboratory for drug testing?
A staging site is similar to a laboratory for drug testing in that it provides a controlled environment for testing changes and updates, just like a laboratory provides a controlled environment for testing drugs. This allows for better troubleshooting and quality assessment, similar to how drugs are tested for safety and effectiveness in a laboratory.
Do I need to have technical knowledge to create a staging site?
No, you do not need to be a technical person to create a staging site. Many popular hosting solutions, such as Bluehost and Cloudways, offer one-click staging options that make it easy for non-technical users to set up a staging site. There are also plugins available that provide a step-by-step guide for creating a staging site.
What are the benefits of using a plugin to create a staging site?
Using a plugin to create a staging site can save time and effort, as it automates the process and provides a user-friendly interface. It also helps to avoid common errors, such as issues with file permissions and database errors, that may occur when creating a staging site manually.
How do I push changes from my staging site to the live site?
Once you have made changes on your staging site and are satisfied with them, you can easily push them to your live site. This can be done through a plugin or manually by pulling the changes from the staging site to the live site. The step-by-step guide in the plugin or tutorial will provide specific instructions for this process.
How often should I update my staging site and keep it in sync with my live site?
It is important to regularly update your staging site to keep it in sync with your live site. This includes updating plugins and making any necessary changes or updates. This will ensure that your staging site is an accurate representation of your live site and helps to prevent any conflicts or errors when pushing changes to your live site.


